What Are the Best Roofing Materials for Pennsylvania Weather?
If you own a home in Pennsylvania, your roof endures significant weather year-round. The best roofing materials provide excellent waterproofing, …
March 28, 2026
4 MIN READ
Taking care of your roof is one of the most important responsibilities of being a homeowner. Neglecting roof maintenance can lead to costly repairs and potentially dangerous situations. That's why it is crucial to be proactive about roof maintenance.
In this article, we will discuss why proactive roof maintenance is necessary and how it can benefit you in the long run. By regularly inspecting your roof, identifying and addressing small issues early on, you can prevent major problems from developing. This proactive approach can save you both time and money, as it will help extend the lifespan of your roof and minimize the need for expensive repairs.
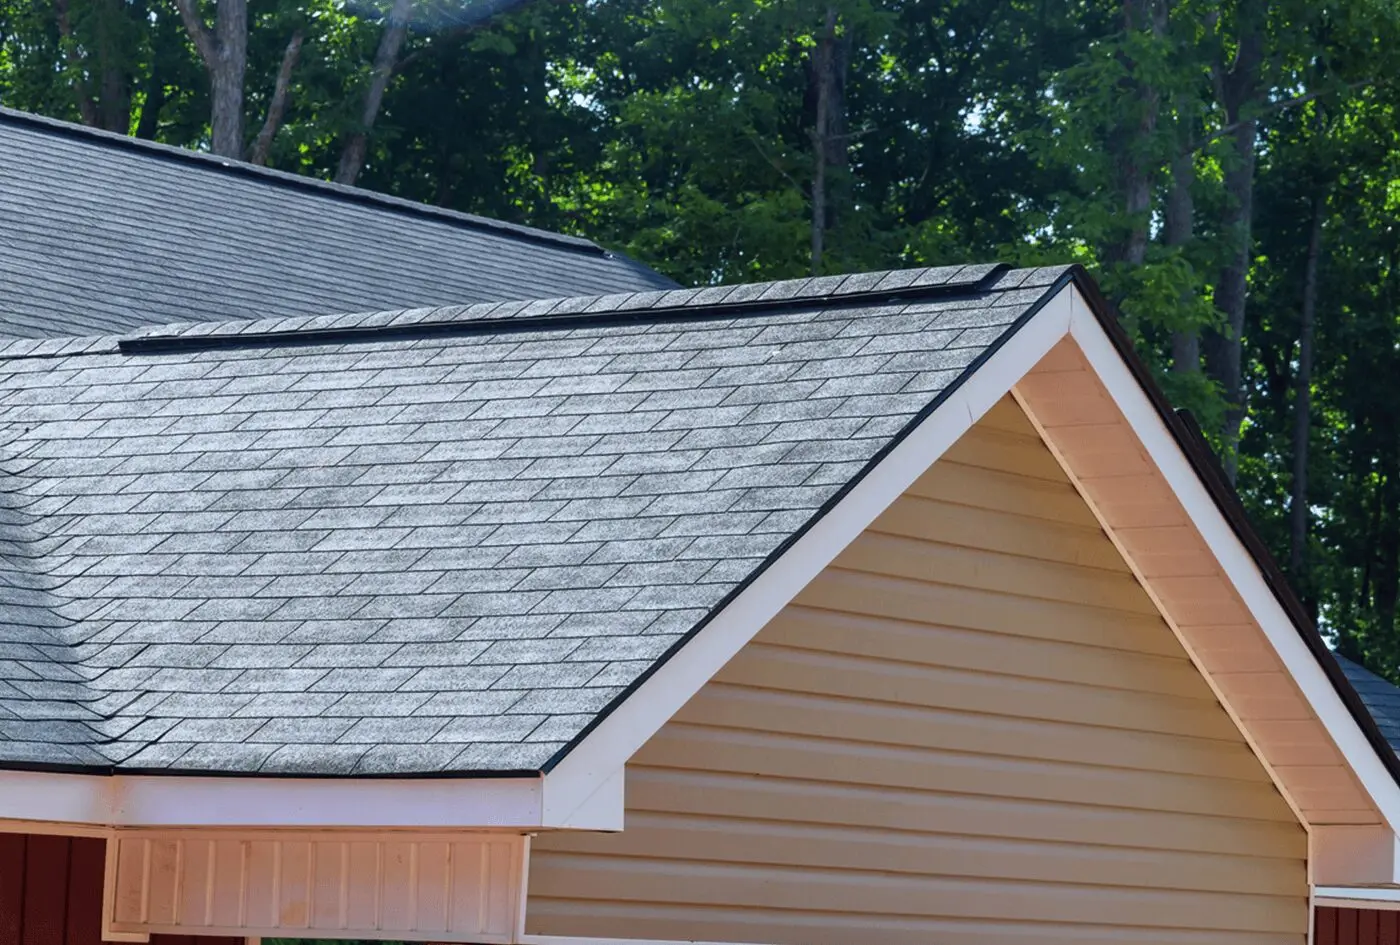
Your roof is your first line of defense against the elements, protecting your home and everything inside it. It shields you from rain, snow, wind, and other weather conditions. However, over time, your roof can become damaged due to wear and tear, exposure to harsh weather, and other factors. That's why regular maintenance is essential to ensure its longevity.
When you neglect roof maintenance, small issues such as loose shingles, cracked tiles, or damaged flashing can quickly escalate into significant problems. A small leak, for example, can lead to water damage, mold growth, and structural issues. By being proactive about roof maintenance, you can catch these problems early on and address them before they become more severe.
Failing to maintain your roof can result in various issues that can be both costly and inconvenient. One of the most common problems caused by neglecting roof maintenance is water damage. When your roof has leaks or cracks, water can seep into your home, damaging the ceiling, walls, and even your belongings. This can lead to the growth of mold and mildew, which can pose health risks to you and your family.
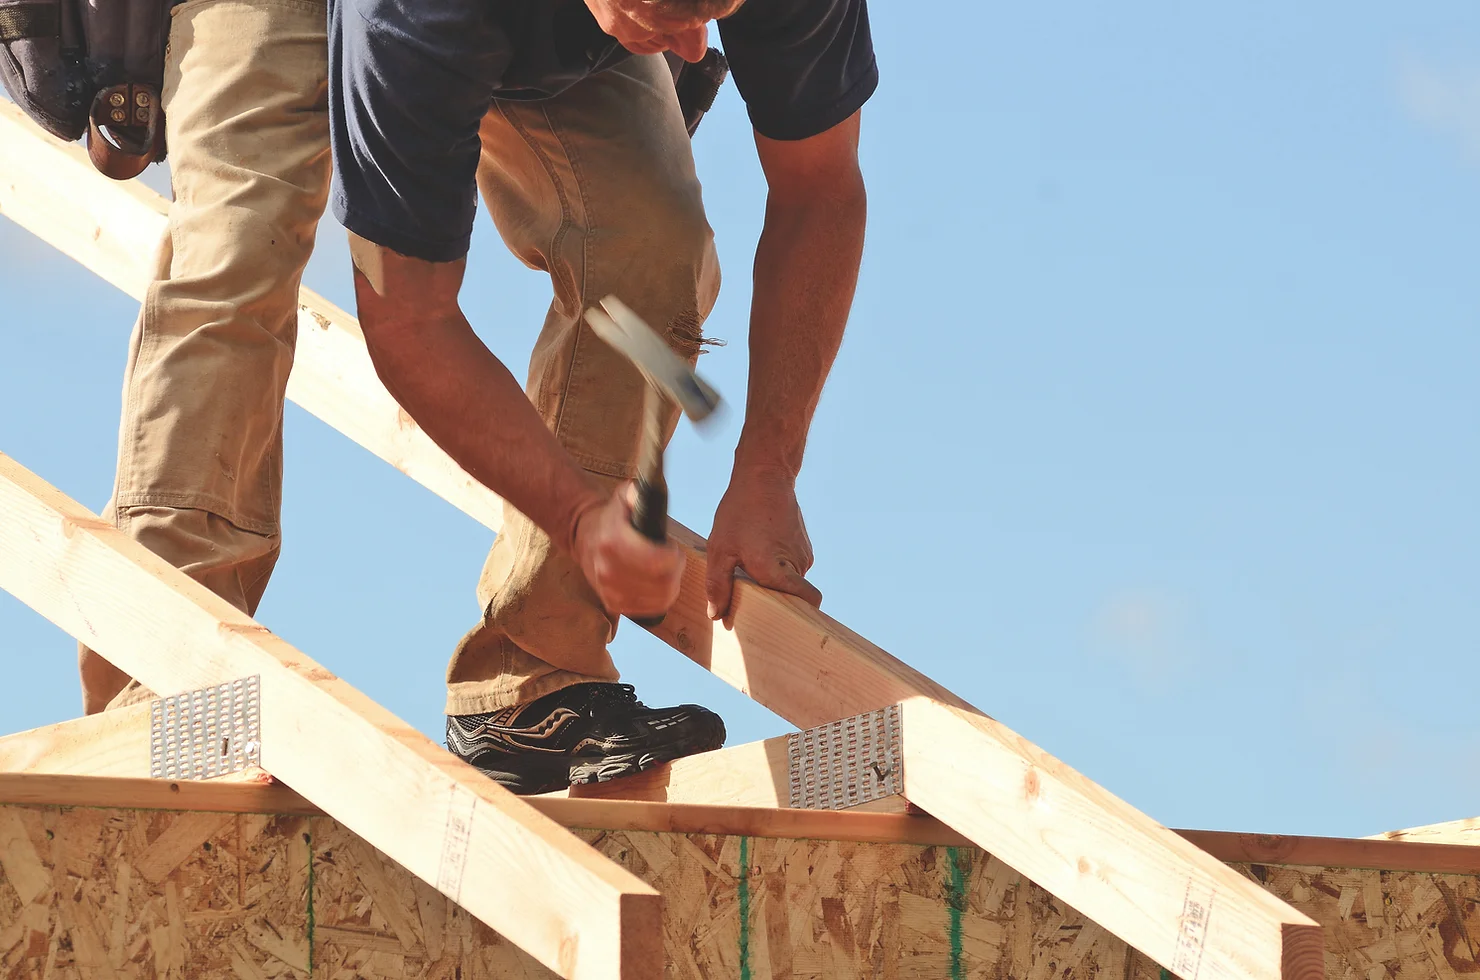
Another problem that can arise from lack of maintenance is structural damage. A compromised roof can weaken the overall structure of your home, leading to sagging, shifting, or even collapse in extreme cases. Repairing structural damage can be a complex and expensive process that could have been prevented with regular roof maintenance.
Additionally, a poorly maintained roof can also result in higher energy bills. When your roof is damaged or not properly insulated, it can allow heat or cold air to escape, making your HVAC system work harder to maintain a comfortable temperature. This can significantly increase your energy consumption and utility costs.
It's essential to be aware of the signs that indicate your roof needs maintenance. By recognizing these signs early on, you can take immediate action and prevent further damage. Some common indicators that your roof requires attention include:
Being proactive about roof maintenance offers several benefits that can positively impact your home and your wallet.
To be proactive about roof maintenance, there are several steps you should take on a regular basis.
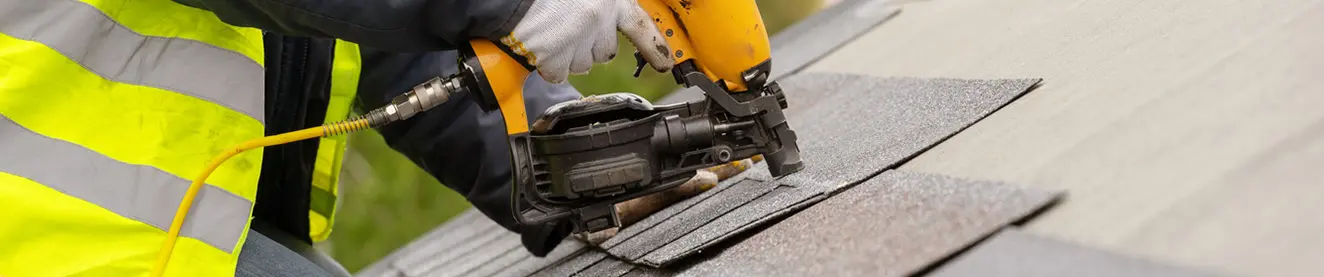
While some roof maintenance tasks can be done by homeowners, it's advisable to hire a professional for more complex or risky tasks. Professional roofers have the experience, knowledge, and equipment to perform thorough inspections and repairs. They can identify potential issues that may go unnoticed by an untrained eye and ensure that the job is done correctly.
When hiring a professional, make sure to choose a reputable Roofing and Exterior Services Company with a track record of excellence. Ask for references, check online reviews, and inquire about warranties on their work. A reliable roofer will provide you with a detailed report of the condition of your roof and offer recommendations for any necessary repairs or maintenance.
While certain aspects of roof maintenance are best left to professionals, there are some tasks that homeowners can tackle themselves. Here are a few DIY roof maintenance tips and tricks:
To perform basic roof maintenance tasks, you'll need a few essential tools and equipment:
Investing in proactive roof maintenance is a wise financial decision. The cost of regular roof maintenance is significantly lower than the expenses associated with major repairs or a full roof replacement.
On average, the cost of roof maintenance ranges from $200 to $600 per year, depending on the size and complexity of your roof. This includes routine inspections, gutter cleaning, and minor repairs. In contrast, the cost of repairing a leaky roof can range from $500 to $1,500, while a complete roof replacement can cost several thousand dollars.
By investing in regular maintenance, you can avoid these hefty expenses and ensure that your roof remains in good condition for years to come. The money you save on potential repairs or replacements can be used for other home improvement projects or saved for a rainy day.
Don't wait for a leak or a major problem to occur before you take action. Embrace the proactive approach to roof maintenance, and enjoy the peace of mind that comes with a well-maintained roof. Regular inspections, gutter cleaning, and addressing signs of damage promptly are essential steps to ensure the longevity of your roof.
Investing in proactive roof maintenance not only saves you money in the long run but also preserves the value and integrity of your home. By being proactive, you can prevent small issues from becoming major problems, extend the lifespan of your roof, and protect your loved ones from potential dangers. Take care of your roof, and it will take care of you.
Contact Lifetime Quality to book your 100% free residential roof inspection.