Are you familiar with the term "roofing drip edge"? If not, let me enlighten you. A significant component of a well-built roof, a drip edge plays a vital role in protecting your home from water damage. Whether you're a homeowner or a roofing professional, understanding what a drip edge is and how it functions is crucial for maintaining the integrity of your roof.
Purpose and Importance of Roofing Drip Edge
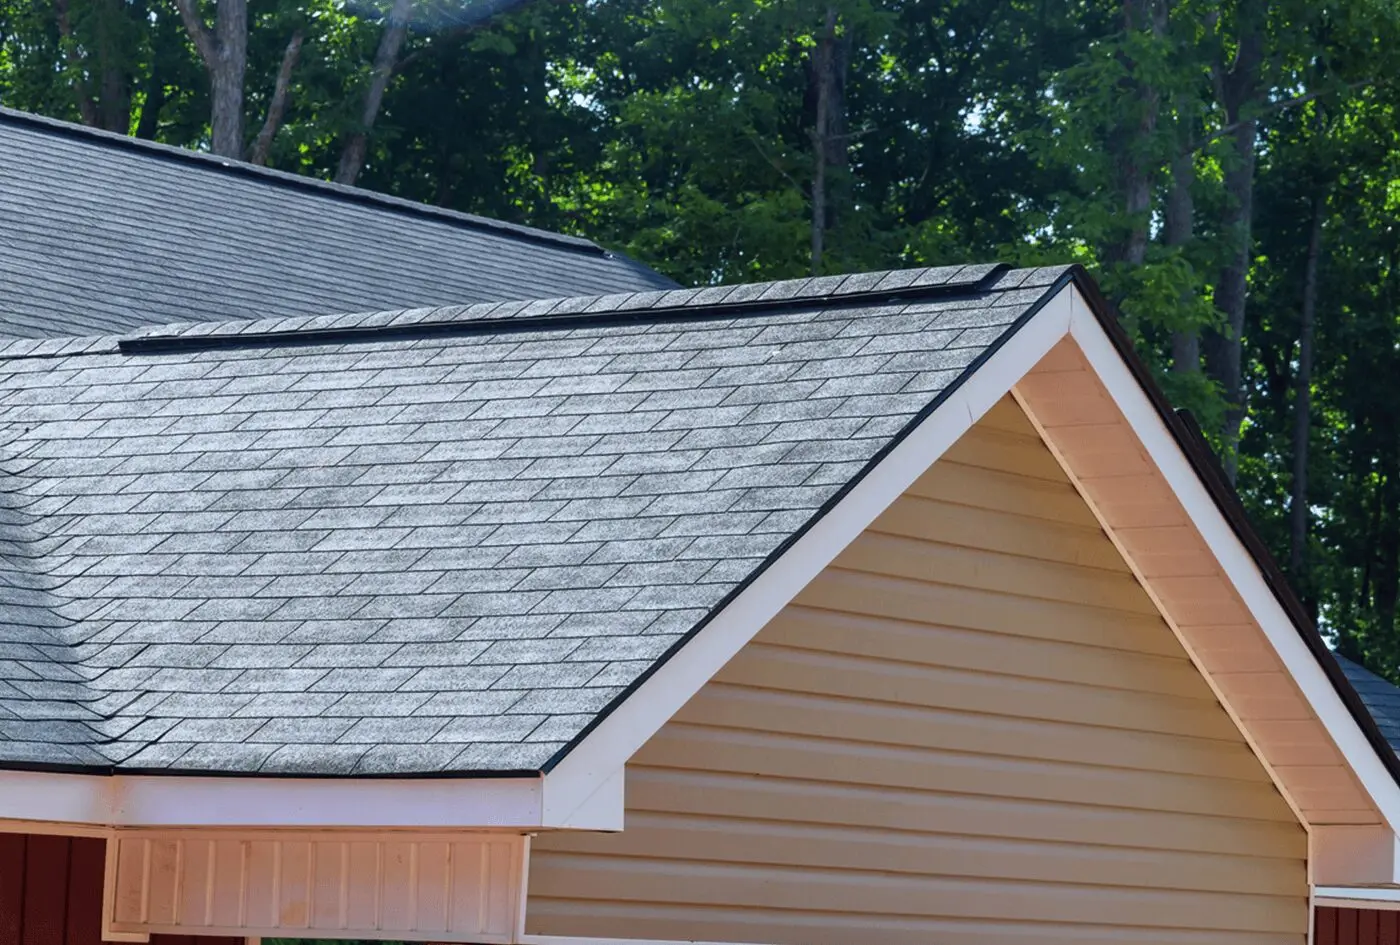
A drip edge is a metal strip that is installed along the edge of a roof, at the intersection of the roof deck and the eaves. Its primary purpose is to redirect water away from the fascia and prevent it from seeping into your home or causing rot. By channeling water away from the roof, a drip edge ensures that the water doesn't accumulate and compromise the structural integrity of your roof.
One of the key benefits of a properly installed drip edge is its ability to protect the vulnerable areas of your roof, such as the fascia and the eaves. These areas are prone to water damage, which can lead to rot and decay if left untreated. By directing water away from these areas, a drip edge acts as a barrier, preventing moisture from infiltrating your roof and causing costly damage.
Another important function of a drip edge is to prevent water from running down the fascia and onto the siding of your home. This can cause unsightly stains and damage to the exterior of your house. By redirecting the water away from the fascia, a drip edge helps to maintain the aesthetic appeal of your home.
In addition to its protective function, a properly installed drip edge also enhances the overall appearance of your roof. It provides a clean and finished look while protecting vulnerable areas from water damage. This can increase the curb appeal of your home and even boost its market value.
Types of Roofing Drip Edge Materials
Drip edges for roofs are typically made from various materials, each with its own set of advantages and disadvantages. The most common types of materials used for drip edges are metal, PVC, and composite.
Metal drip edges, such as aluminum or galvanized steel, are the most popular choice due to their durability and longevity. They are resistant to corrosion and can withstand harsh weather conditions. Metal drip edges also provide a sleek and clean finish to the roof, enhancing its overall appearance.
PVC drip edges, on the other hand, are known for their affordability and ease of installation. They are lightweight and flexible, making them easy to work with. PVC drip edges are also resistant to UV rays and can withstand extreme temperatures without cracking or warping.
Composite drip edges are a newer option that combines the benefits of metal and PVC. They are made from a combination of materials, such as plastic and rubber, to provide the best of both worlds. Composite drip edges are durable, weather-resistant, and easy to install.
When choosing a drip edge material, consider factors such as climate, budget, and personal preference. It's also important to consult with a roofing professional to ensure that you select the right material for your specific roofing needs.
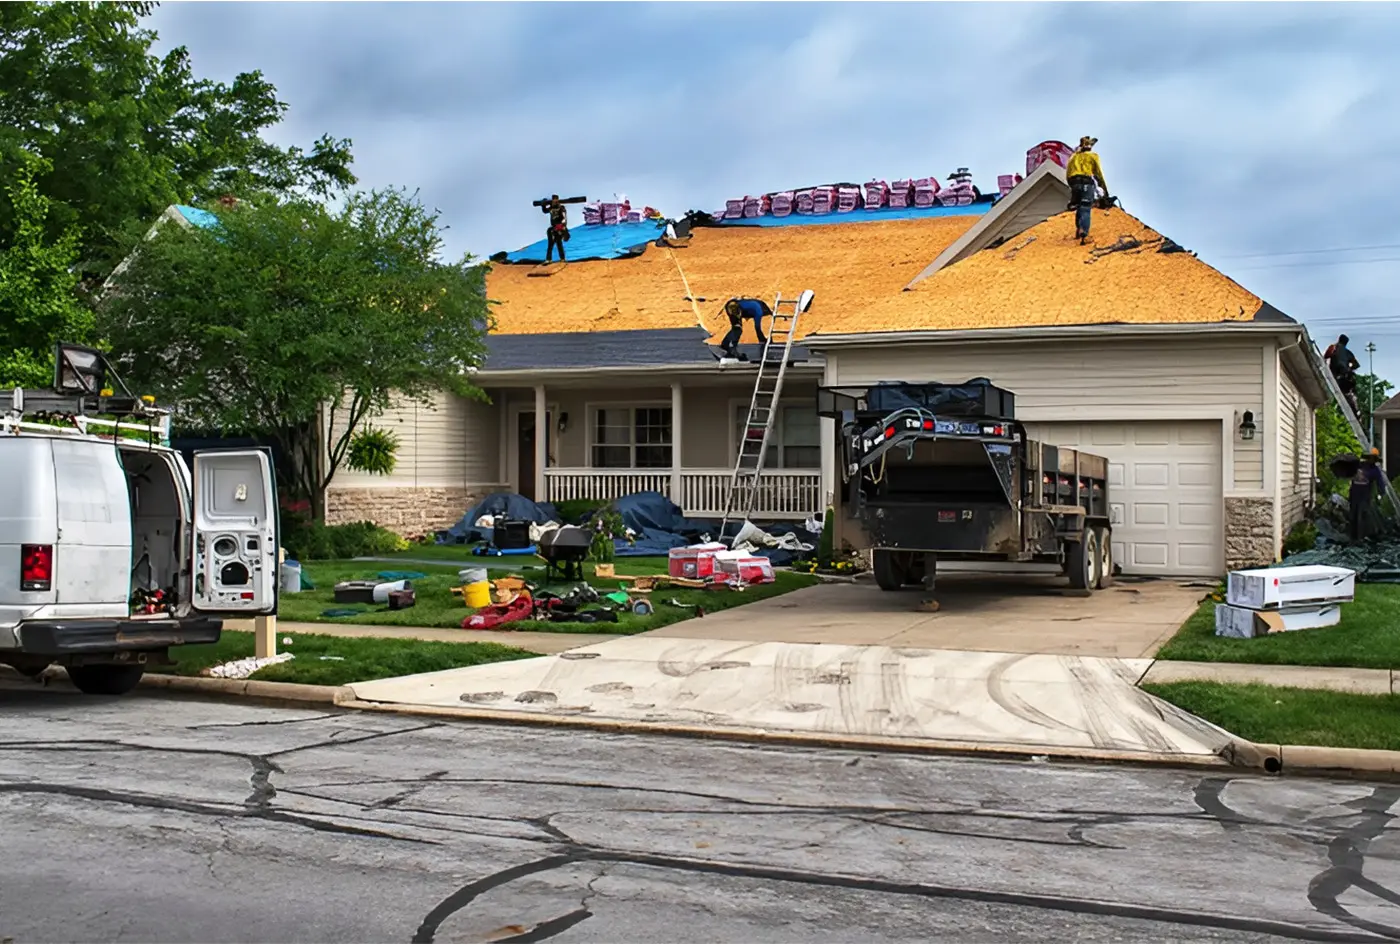
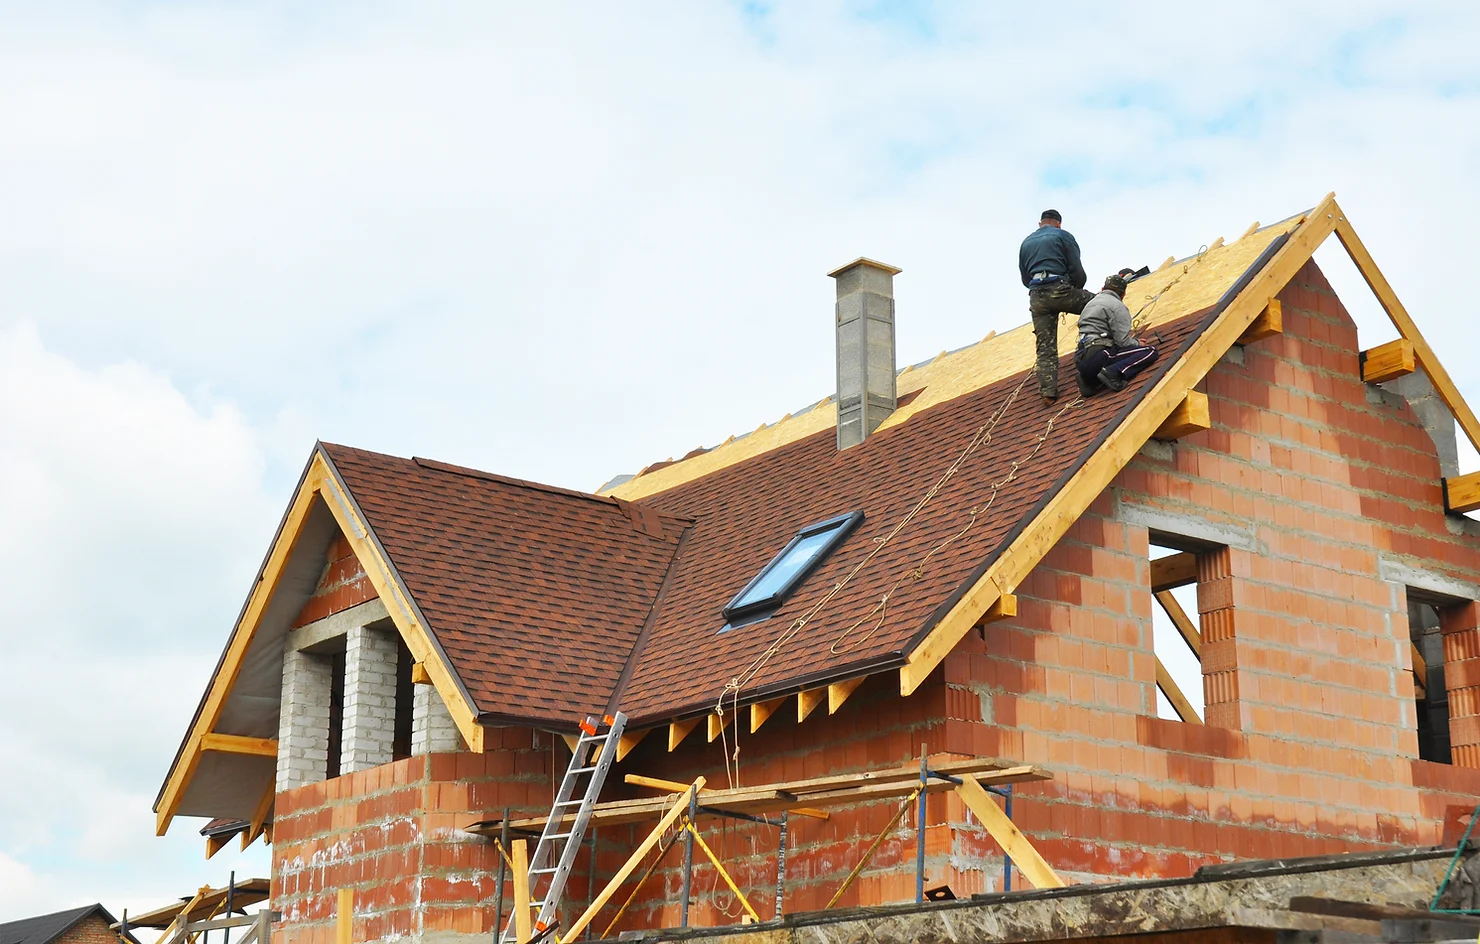
How to Install Roofing Drip Edge
Installing a drip edge is a crucial step in the roof installation process. Here's a step-by-step guide on how to install a drip edge properly:
Start by measuring the length of the roof edges where the drip edge will be installed. Make sure to factor in any corners or angles.
Cut the drip edge material to the appropriate length, ensuring that it overlaps the eaves by at least one inch.
Attach the drip edge to the roof deck using roofing nails or screws. For metal drip edges, use galvanized or stainless steel fasteners to prevent corrosion.
Install the drip edge along the eaves, making sure that it is flush with the edge of the roof deck. Secure it in place using roofing nails or screws, spaced evenly along the length of the drip edge.
For corners or angles, miter the drip edge to create a seamless transition. Use tin snips or a saw to cut the drip edge at the appropriate angle, ensuring a tight fit.
Once the drip edge is installed along the eaves, proceed to install the drip edge along the gable ends of the roof, following the same steps.
Finally, inspect the drip edge to ensure that it is securely fastened and properly aligned. Make any necessary adjustments or repairs before proceeding with the rest of the roof installation.
Proper installation of a drip edge on a roof is crucial for its effectiveness. If you're not confident in your roofing skills, it's always best to hire a professional to ensure that the drip edge is installed correctly.
Common Mistakes to Avoid When Installing Roofing Drip Edge
While installing a drip edge may seem straightforward, there are some common mistakes that homeowners and even professionals make. Here are a few mistakes to avoid:
Inadequate overlap: The drip edge should overlap the eaves by at least one inch to ensure proper water redirection. Failing to provide enough overlap can result in water seepage and damage to your roof.
Improper alignment: The drip edge should be aligned with the edge of the roof deck to ensure a seamless transition. If the drip edge is misaligned, it can create gaps or uneven surfaces, allowing water to penetrate.
Using the wrong fasteners: Using the wrong type of fasteners, such as nails or screws that are not corrosion-resistant, can lead to rust and deterioration of the drip edge. Always use the recommended fasteners for your specific drip edge material.
Overdriving or under-driving fasteners: When securing the drip edge, be careful not to overdrive or underdrive the fasteners. Overdriving can damage the drip edge or the roof deck, while under-driving can leave the drip edge loose, compromising its effectiveness.
Neglecting proper corner installation: Corners and angles require special attention when installing a drip edge. Failure to miter the drip edge correctly can result in gaps or improper water redirection. Take the time to measure and cut the drip edge accurately for a tight fit.
By avoiding these common mistakes, you can ensure that your drip edge functions properly and provides the necessary protection for your roof.
Benefits of Using Roofing Drip Edge
Using a roofing drip edge offers several benefits that go beyond just protecting your home from water damage. Here are some of the key advantages:
Water damage prevention: The primary function of a drip edge is to redirect water away from vulnerable areas of your roof, such as the fascia and eaves. By preventing water from seeping into these areas, a drip edge helps to prevent rot, decay, and costly repairs.
Enhanced roof durability: By channeling water away from the roof, a roof drip edge helps to maintain the structural integrity of your roof. It prevents water from accumulating and putting excessive weight on the roof deck, reducing the risk of sagging or collapsing, especially during inclement weather.
Improved aesthetics: A properly installed drip edge provides a clean and finished look to your roof. It creates a seamless transition between the roof deck and the eaves, enhancing the overall appearance of your home. This can increase the curb appeal and value of your property.
Protection against pests: In addition to water, a drip edge roof also helps to keep pests, such as insects and rodents, out of your home. By closing off potential entry points along the roof edge, a drip edge acts as a barrier against unwanted visitors.
Longevity of the roof: By protecting vulnerable areas from water damage, drip edge roofing helps to prolong the lifespan of your roof. It reduces the risk of premature deterioration and extends the time between roof replacements or repairs.
Signs of a Damaged or Ineffective Roofing Drip Edge
While a properly installed and maintained drip edge can provide years of protection, it's important to be aware of signs that indicate a damaged or ineffective drip edge. Here are a few signs to watch out for:
Rust or corrosion: If you notice rust or corrosion on your drip edge, it's a clear indication that the metal is deteriorating. Rust can compromise the integrity of the drip edge and reduce its effectiveness in redirecting water.
Gaps or separation: Inspect the drip edge along the roof edge and the eaves for any gaps or separation. If the drip edge is not securely fastened or properly aligned, it can allow water to penetrate and cause damage.
Water stains or leaks: Water stains or leaks along the fascia or the interior walls near the roof edge may indicate a problem with the drip edge. Water should be redirected away from these areas, so any signs of water infiltration should be investigated.
Sagging or misaligned drip edge: A sagging or misaligned drip edge may indicate improper installation or damage. It can create gaps or uneven surfaces that allow water to seep in, compromising the protection of your roof.
If you notice any of these signs, it's important to address the issue promptly. Repair or replace the damaged drip edge to ensure that your roof remains protected.
Frequently Asked Questions About Roofing Drip Edge
Is a drip edge necessary for all types of roofs?
Yes, a drip edge is necessary for all types of roofs. It helps to redirect water away from the vulnerable areas of the roof and prevent water damage.
Can I install a drip edge myself?
While it's possible to install a drip edge yourself, it's recommended to hire a professional to ensure proper installation. A roofing professional has the expertise and experience to install the drip edge correctly and prevent any potential issues.
How often should I inspect my drip edge?
It's a good practice to inspect your drip edge at least once a year, preferably during your regular roof maintenance routine. Look for signs of damage, rust, or misalignment and address any issues promptly.
Can I paint my drip edge to match the color of my roof?
Yes, you can paint your drip edge to match the color of your roof. Use a paint that is specifically designed for metal surfaces and follow the manufacturer's instructions for application.
Can a drip edge be installed after the roof is already in place?
While it's best to install a drip edge during the initial roof installation, it is possible to install a drip edge after the roof is already in place. However, it may require removing some shingles or tiles to properly install the drip edge.
Tips for Maintaining and Prolonging the Life of Roofing Drip Edge
To ensure the longevity and effectiveness of your roofing drip edge, follow these maintenance tips:
Regularly inspect the drip edge for signs of damage, rust, or misalignment. Address any issues promptly to prevent further damage.
Keep the roof and gutters clean to prevent debris from accumulating and clogging the drip edge. Regularly remove leaves, branches, and other debris from the roof and gutters.
Trim overhanging tree branches to prevent them from rubbing against the roof and causing damage to the drip edge.
Remove snow and ice from the roof to prevent excessive weight on the drip edge. Use a roof rake or hire a professional to safely remove snow and ice.
Avoid excessive pressure or force when cleaning the roof or gutters. Use gentle methods, such as a soft brush or a low-pressure hose, to clean the drip edge and surrounding areas.
By following these maintenance tips, you can prolong the life of your roofing drip edge and ensure its effectiveness in protecting your home.
The Role of Roofing Drip Edge in Protecting Your Home
In conclusion, a roofing drip edge is a crucial component of a well-built roof. It plays a vital role in redirecting water away from vulnerable areas, preventing water damage, and maintaining the structural integrity of your home. By protecting the fascia, eaves, and other areas from water infiltration, a drip edge helps to prevent rot, decay, and costly repairs.
When installing a drip edge, it's important to choose the right material and ensure proper installation. Avoid common mistakes, such as inadequate overlap or improper alignment, to ensure the effectiveness of the drip edge. Regular inspection and maintenance can help to prolong the life of the drip edge and ensure its continued protection.
So, whether you're a homeowner or a roofing professional, don't overlook the importance of a roofing drip edge. It's a small investment that can make a big difference in the longevity and safety of your roof. Protect your home from water damage and enhance its overall appearance with a properly installed and maintained drip edge.